


Color matching foundation is all about finding that one shade that seems to melt right into your skin. But the real secret? It isn't just about the surface color. It’s about nailing your skin's unique undertone—that subtle, consistent color just beneath the surface. Get that right, and you've unlocked a seamless, perfect match every single time.
Find Your Undertone for a Flawless Foundation Match
We've all been there. You find a foundation that looks perfect under the bright store lights, but the moment you step outside, it's a disaster. One month a shade is your holy grail, and the next, it's completely wrong. The culprit usually isn't the foundation shade itself, but a mismatch with your skin's undertone.
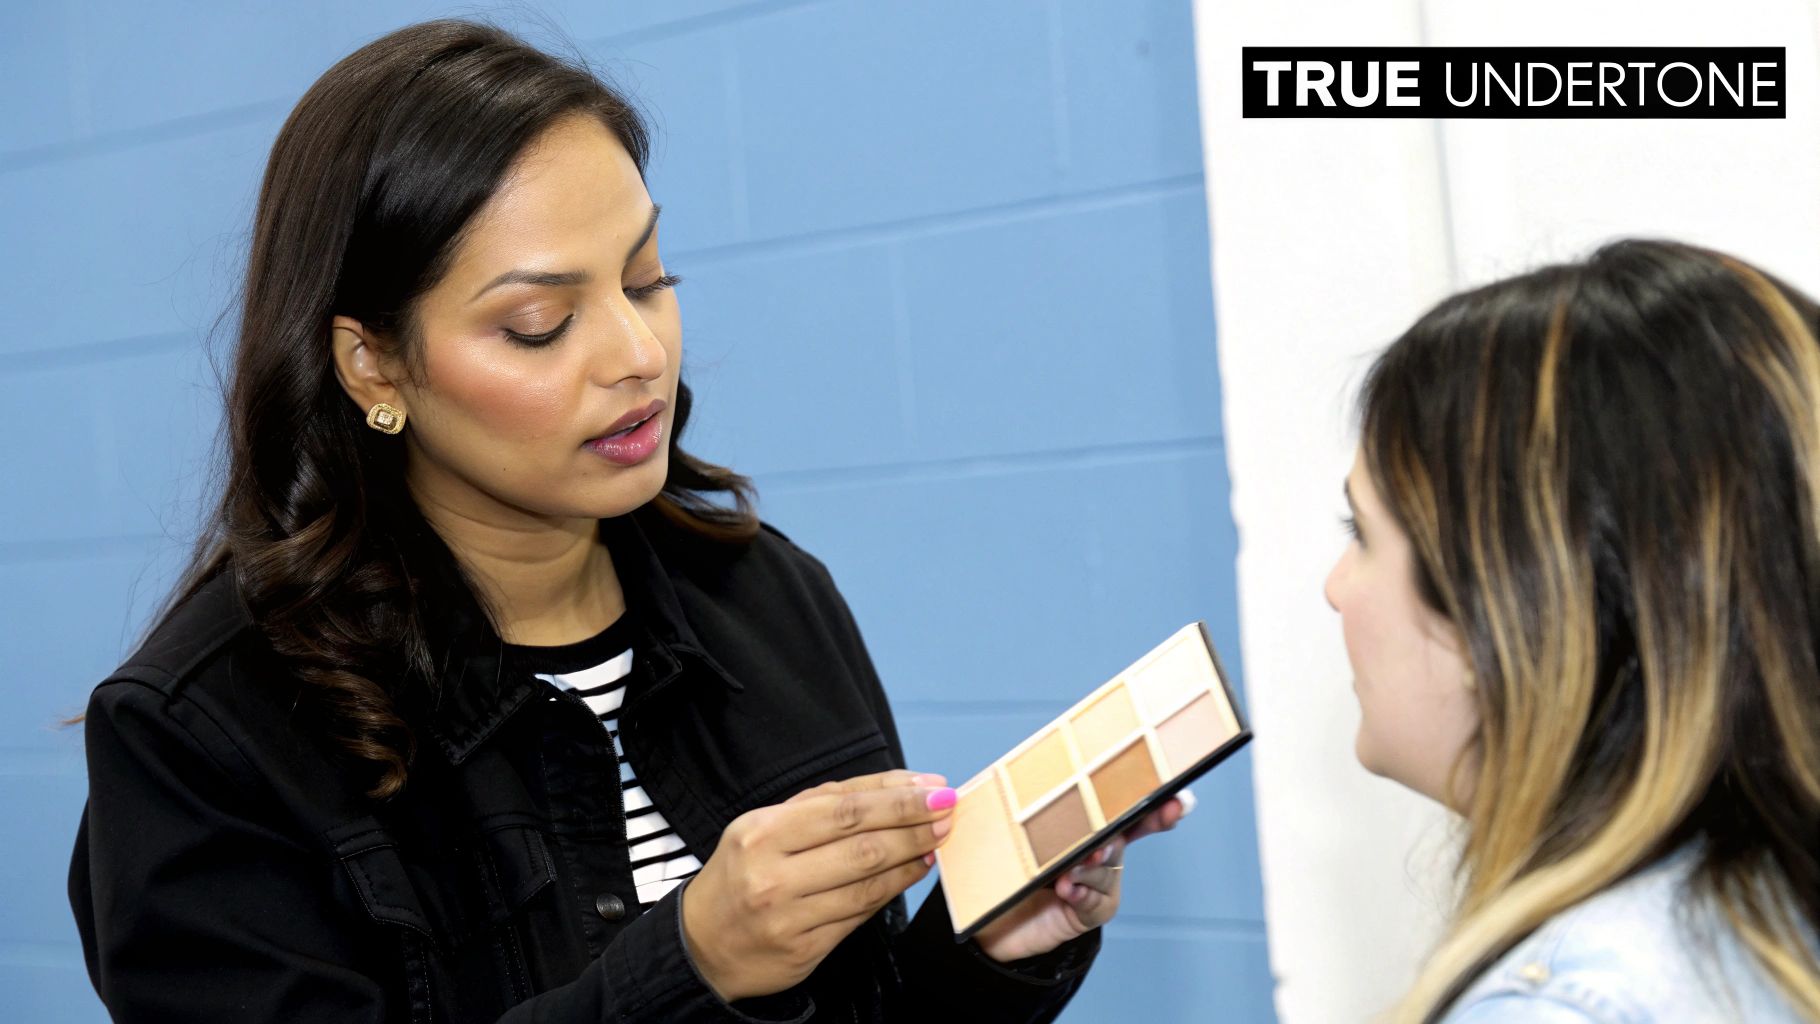
Your undertone is the permanent tint that lies just below your skin. It doesn't change when you get a tan during a Canadian summer or become paler in the winter. This is what determines whether you need a foundation with cool (pink, red), warm (yellow, golden), or neutral (a mix of both) pigments. Honestly, getting this right is the most important step to a finish that looks like your skin, but better.
Uncovering Your True Undertone
Forget what you've heard about complicated color theory. You can figure out your undertone with a couple of simple, tried-and-true tricks you can do right now.
-
Check Your Veins: This is a classic for a reason. Take a look at the veins on the inside of your wrist in good, natural daylight. If they look mostly blue or purple, you're likely in the cool undertone camp. If they appear more greenish, you probably have a warm undertone. Seeing a mix of both or can't really tell? You're likely neutral.
-
The Jewelry Trick: Think about which type of jewelry really makes your skin pop. Does silver or platinum give you a radiant look? You’re probably cool-toned. If you absolutely glow in gold, you’re warm-toned. And if you can pull off both without a second thought, you've hit the jackpot—you're in the neutral family.
Still a bit fuzzy? This quick guide should help clear things up.
Quick Undertone Identification Guide
I've put together this simple table to act as your cheat sheet. Just cross-reference what you see in the mirror or on your wrist to get a clearer picture.
| Test Method | Cool Undertone Clues | Warm Undertone Clues | Neutral Undertone Clues |
|---|---|---|---|
| Vein Color | Veins look blue or purple. | Veins look green or olive. | Veins are a mix of blue and green, or hard to tell. |
| Jewelry | Silver and platinum are most flattering. | Gold jewelry makes your skin glow. | Both silver and gold look great on you. |
| White Fabric | Your skin looks rosy against pure white. | Your skin looks more golden or yellow against white. | Off-white and cream are more flattering than pure white. |
| Sun Exposure | You tend to burn easily and turn pink in the sun. | You tan easily and rarely burn. | You might burn at first, but then it turns into a tan. |
Think of these as clues, not hard-and-fast rules. Most people lean one way or another, and once you know which way that is, foundation shopping becomes so much easier.
The process is simple: nail down your undertone before you even start swatching. It's the foundation of, well, your foundation.
Why Undertones Matter More Than Ever
Knowing your undertone isn't just some makeup artist secret anymore; it’s your key to navigating the massive, and thankfully more inclusive, Canadian beauty market. With brands finally expanding their shade ranges, understanding your undertone helps you cut through the noise and find your perfect match without the guesswork.
This push for better, more diverse options is seriously changing the game. The global shade-inclusive cosmetics market was valued at USD 28.6 billion in 2025 and is projected to skyrocket to USD 51.7 billion by 2035. That’s a huge leap, and it’s all thanks to consumers demanding better choices.
The most expensive foundation is the one you never use. Taking five minutes to identify your undertone saves you from buying bottle after bottle of the wrong shade.
Ultimately, once you have this one piece of the puzzle solved, everything else falls into place. For an even deeper dive, our complete guide on how to choose foundation has you covered.
Mastering the Art of Swatching Foundation
Alright, you've figured out your undertone. Now for the moment of truth: putting some actual foundation to the test. This is where so many people go wrong, and it’s a simple fix.
For decades, we’ve been told to test foundation on our wrists or the back of our hands. Let’s just agree to stop doing that. The skin there is almost never the same color or texture as your face, so it’s a recipe for a bad match.
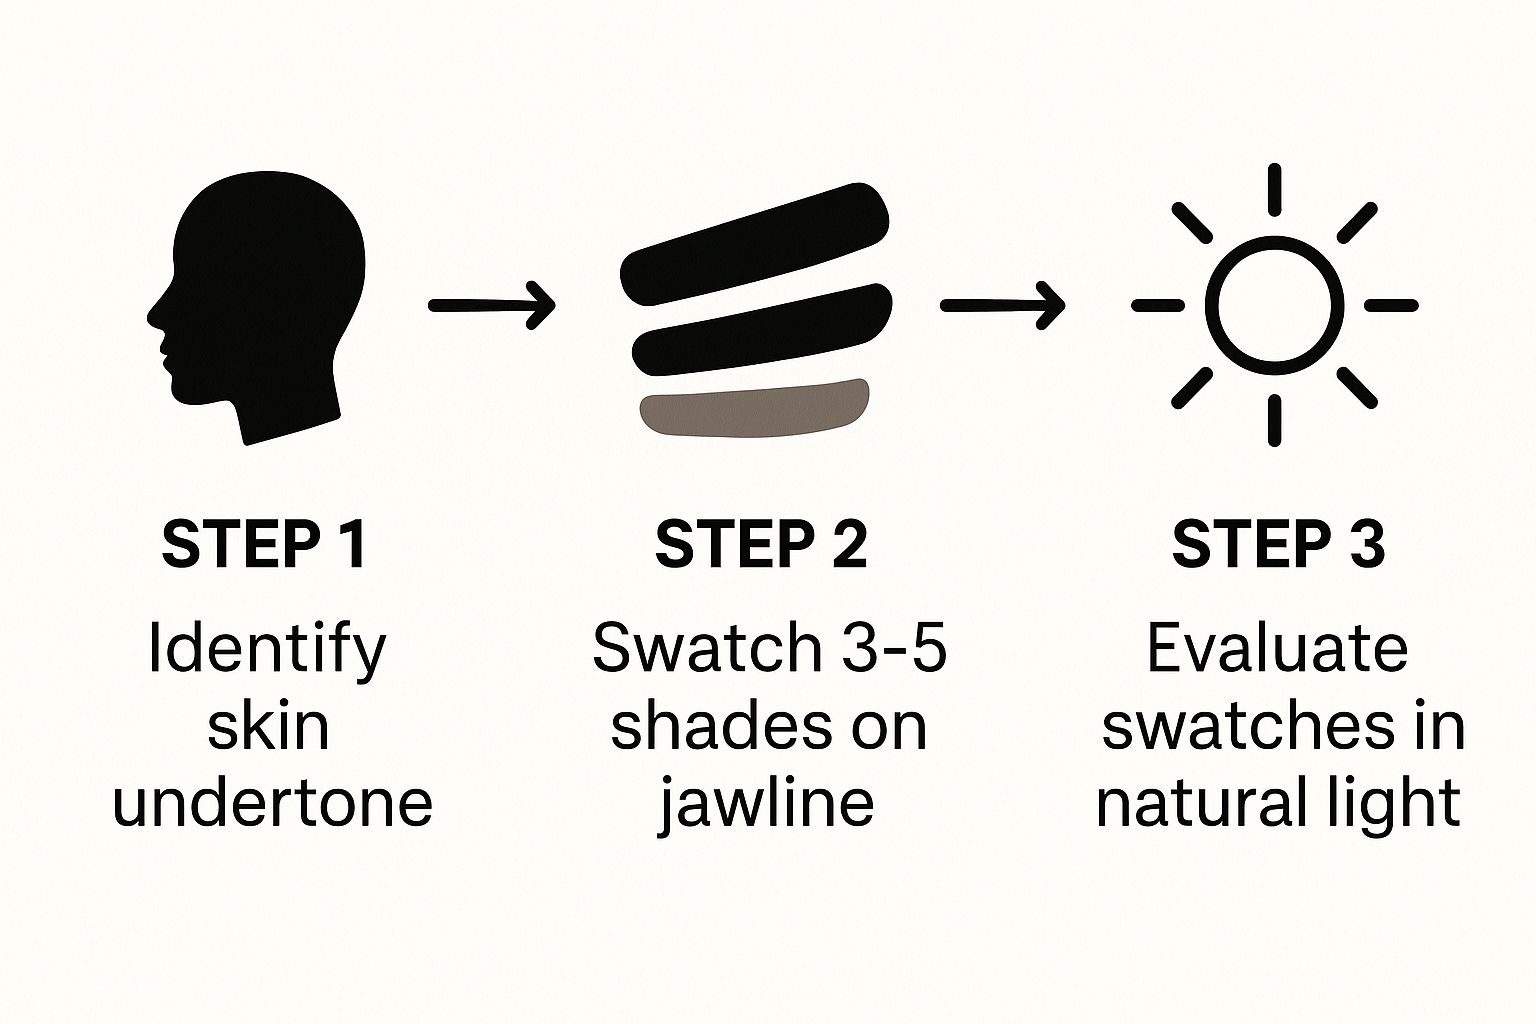
To get it right, you have to swatch directly where you'll be wearing the makeup. The absolute best spot is along your jawline, bringing the color down just a touch onto your neck. When you find the one, it should look like it's literally melting into your skin, leaving no trace of a line.
Finding Your Perfect Shade
The secret to a good swatch test isn't just finding one shade—it's about comparison. Your eyes can be easily fooled, so you need to give them a few options to really see what works. I always rely on the "rule of three."
Here’s how it works:
- Pick your contenders: Grab the shade you think is the one, plus one that’s a step lighter and one that’s a step darker.
- Stripe them on: Apply three small, separate stripes of each color right next to each other on your jawline.
- Gently pat it in: Lightly blend the edges of each swatch. I find using a small, dense brush like a synthetic foundation brush gives you a much cleaner application than using your fingers.
This simple side-by-side comparison immediately reveals which shade disappears and which ones look off—too ashy, too orange, or too pink. Your winner is the one that vanishes.
The Most Important Step: Wait
You’ve applied your stripes, and one looks pretty good under those bright store lights. Do not go to the register yet! This is where a little patience pays off big time.
Foundation can—and often does—change color as it dries and mixes with your skin's natural oils. It’s a process called oxidation, and it can turn a perfect match into a shade that's too dark or orange in just 15-20 minutes.
Take a walk. Seriously. Get out of the store and find some natural daylight. This is the only way you'll see how the foundation truly looks.
That harsh fluorescent lighting inside places like Shoppers Drug Mart or Sephora is notoriously misleading. For those of us in Canada, the ultimate test is seeing how it holds up in that flat, grey light of a typical afternoon. If it looks good then, it’ll look good anywhere.
After you've let the swatches fully dry and checked them in natural light, the right choice will be crystal clear. This one simple step will save you the frustration of getting home and realizing your brand-new foundation is all wrong. It's the final piece of the puzzle for a truly flawless finish.
Getting Foundation Right for Mature Skin
As our skin changes over the years, so does its relationship with makeup. The game is no longer about hiding flaws; it’s about highlighting your natural beauty. For mature skin, the holy grail of foundations is one that hydrates, brightens, and gracefully glides over fine lines instead of sinking into them.
Forget heavy coverage. The real goal is a finish that feels and looks like your own skin, just healthier and more radiant. And that all starts with choosing the right formula.
Why the Formula Is Everything
I’ve seen it time and time again: thick, matte foundations can be a disaster on mature skin. They have a nasty habit of sucking the moisture right out, which only accentuates dryness and texture, especially during our harsh Canadian winters. And heavy powders? They just love to camp out in creases, creating a cakey look that’s flattering on no one.
The secret is to find formulas that breathe life back into your complexion.
- Hydrating Liquid Foundations: These are my go-to. They’re often loaded with moisturizing ingredients that leave you with a youthful, dewy glow.
- Lightweight Serum Foundations: For sheer-to-medium coverage, these feel like nothing on the skin and melt in beautifully.
- Creamy Stick Foundations: Fantastic for targeted application. You can even out your skin tone exactly where you need it without having to wear a full face of makeup.
The best foundation shouldn't scream "makeup!" It should whisper "incredible skin." It's all about letting your natural texture shine through while getting a little boost of glow and hydration.
Nailing the right formula is a massive win. If you want to see some of my top picks, check out our guide to the best foundation for mature skin.
Let Ingredients Do the Heavy Lifting
Think of your foundation as the final, most important step of your skincare routine. The ingredients hiding inside that bottle can make a world of difference in how your skin looks and feels all day long. A quick scan of the label for a few powerhouse players can completely change your makeup experience.
Keep an eye out for these skin-loving ingredients:
- Hyaluronic Acid: This is basically a sponge for moisture. It pulls hydration into the skin, plumping it up to soften the look of fine lines and keep you looking supple.
- Niacinamide: What can't this ingredient do? It brightens, improves texture, and even helps strengthen your skin's protective barrier over time. It's a true workhorse.
- Glycerin: Another incredible humectant that helps your skin hold onto moisture, which means your foundation won't get dry or patchy as the day wears on.
Your Application Technique Matters
Listen, you can have the best foundation in the world, but if you apply it wrong, it won't do you any favors. The goal is a seamless, second-skin effect. So, stop dragging or wiping foundation across your face—that’s a one-way ticket to streaks and settling.
Instead, grab a damp beauty sponge or a good foundation brush and gently press or stipple the product into your skin. This technique builds thin, even layers for a truly flawless blend.
My advice? Always start with a tiny amount of product in the center of your face and blend outwards. This concentrates the coverage where most of us need it (around the nose and mouth) while keeping the edges of your face sheer and natural. The result is a healthy, believable glow that actually lasts.
Using AI Shade Finders to Your Advantage
Shopping for foundation isn't what it used to be. The Canadian beauty market, from the aisles of Sephora to countless online-only brands, is now full of AI and AR-powered shade finders. These clever tools use your phone’s camera to scan your skin from a selfie, giving you a surprisingly accurate match without you ever having to step foot in a store.
This has been a massive leap forward in making beauty more inclusive. It takes the guesswork—and the often-intimidating pressure of in-store consultations—out of the equation. It's like having a personal beauty advisor on call, 24/7.
How to Get the Best Results from Digital Tools
As smart as these tools are, their recommendations are only as good as the photo you feed them. A blurry, poorly lit picture will almost always lead to a bad match. Think of it like this: you need to give the AI the best possible information to get the best possible answer.
To make sure your virtual try-on is as close to the real thing as possible, a little prep work goes a long way.
- Start with a clean slate. Your face should be completely bare—no makeup, no tinted moisturizer, nothing.
- Chase the light. The absolute best lighting is natural daylight. Stand facing a window where the light is even and indirect. Harsh overhead lights, dark shadows, or direct sun will throw the whole analysis off.
- Get a clear shot. Hold your phone steady at eye level and snap a crisp, focused picture.
These AI tools are fantastic for cutting through the noise and narrowing down dozens of options to just two or three strong contenders. Use them as an expert guide, not the final, absolute truth.
Taking a minute to get this right can save you the frustration of ordering a foundation that’s a total miss.
The Bigger Picture of Beauty Tech
This move toward digital try-ons is much more than a fleeting trend; it’s a fundamental shift in how we discover and buy makeup. The color cosmetics world is always changing, and virtual tools are making us all more confident about clicking "add to cart." They've enabled brands to serve a much wider, more diverse audience with more shades than ever before. You can explore more insights on the color cosmetics market to see just how much things are changing.
Some brands are really pushing the envelope, developing technology that does more than just match a color. If you're curious about what's next for your makeup bag, you might want to learn more about biomimic technology in our article. It’s a fascinating look at how science is making cosmetics smarter and more in tune with our skin.
Common Color Matching Mistakes and How to Fix Them
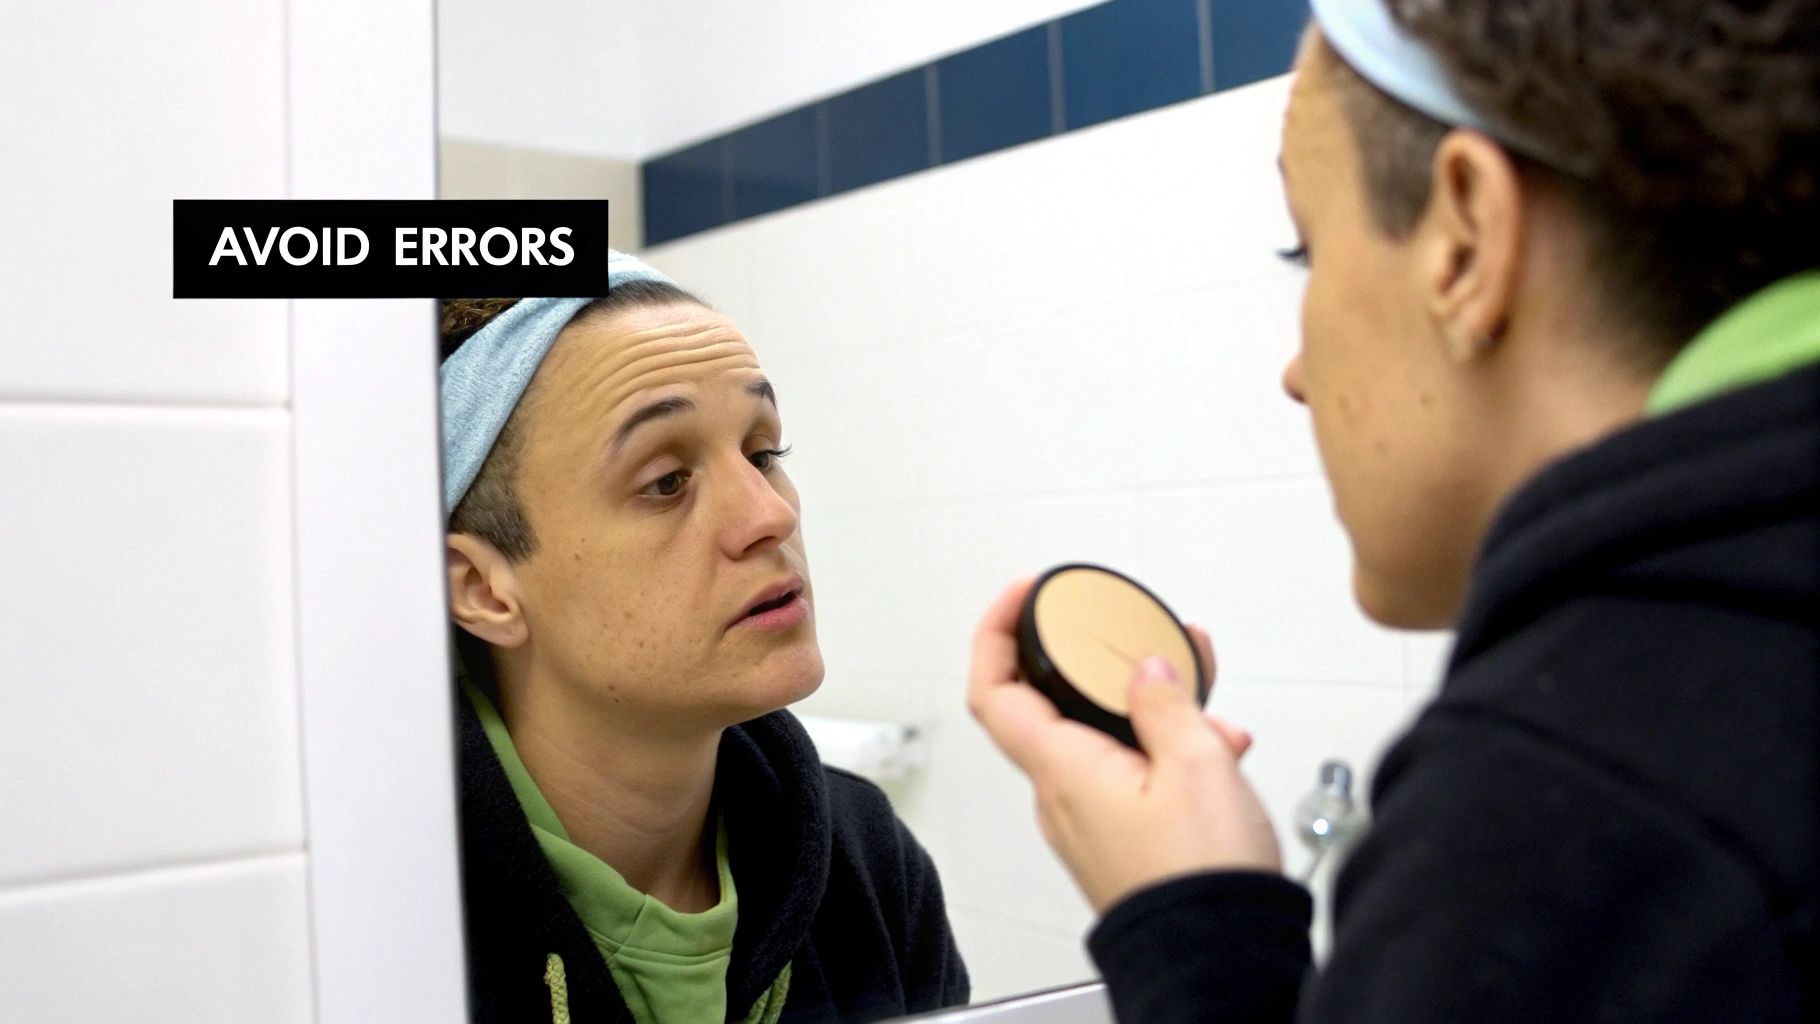
We've all been there. You spend ages finding what seems like the perfect foundation, get home all excited, and then... it looks completely wrong in your own bathroom mirror. It’s a frustratingly common experience, but don't worry, these mismatches are almost always fixable.
The biggest culprit? Testing in the wrong light. Department store lighting is notoriously misleading; it’s designed to flatter, not to show reality. It can easily mask a shade that’s slightly too ashy or too orange, leading to a nasty surprise when you step outside. A swatch that looks seamless under those bright lights can suddenly look like a mask in natural daylight.
Another classic pitfall is picking a shade that's just a little too light or too dark. It’s an easy trap to fall into, especially if we’re hoping to look a bit more tanned or want to brighten our complexion. But forcing a shade that isn’t a true match will always create that dreaded, obvious line along the jaw, completely ruining the seamless finish you’re aiming for.
Simple Fixes for Common Foundation Problems
The good news is that a less-than-perfect purchase doesn’t have to be a total waste. With a bit of know-how, you can easily tweak a foundation to make it work beautifully for you. These are the tricks I always turn to when a shade is just slightly off.
If your foundation is too light:
- Bring in the bronzer. After applying your foundation, grab a big, fluffy brush and lightly dust a matte bronzer over the high points of your face. Think forehead, cheekbones, and the bridge of your nose. This instantly adds warmth back into the skin and corrects that pale, washed-out look.
- Create a custom blend. Just add a tiny drop of a darker liquid concealer or another foundation to your light shade on the back of your hand. Mix them together until you’ve created your perfect custom color.
If your foundation is too dark:
- Sheer it out. This is my favorite trick. Mix a bit of the foundation with your daily moisturizer or a glowy primer. This dilutes the pigment, lightening the shade and giving you a more forgiving, sheer coverage.
- Use it for contouring. Don't let it go to waste! Apply the darker foundation strategically under your cheekbones and along your jawline for some subtle definition. Then, use a lighter concealer on the areas you want to highlight.
Don't toss a foundation that’s just a little off. Think of it as a custom-blending opportunity. A few simple additions can turn a near-miss into your perfect match.
The Canadian Solution: Seasonal Shade Adjusting
Let’s be honest, for those of us living in Canada, our skin tone can change dramatically between the deep freeze of February and the sunny days of July. Trying to stick with just one foundation shade year-round is a recipe for a mismatch. The real secret is to embrace this change by having two key shades on hand.
I always recommend investing in a "winter" shade that matches you at your palest and a "summer" shade for when you have your deepest tan. During those transitional months—spring and fall—you get to play makeup artist. Simply mix the two on the back of your hand until you create the perfect in-between color that matches your skin that day. This method is not only far more accurate, but it's also much more budget-friendly than buying a new bottle every time your complexion shifts.
Once you’ve found your perfect blend, you can explore our tips on how to make your makeup stay on all day to lock in that flawless finish.
Your Top Foundation Matching Questions, Answered
Finding the perfect foundation can feel like a quest, and I get so many questions about the little details that make all the difference. Let's tackle some of the most common ones I hear, especially from my fellow Canadians who know the struggle is real.
How Do I Handle Foundation Changes Between Canadian Seasons?
Ah, the classic Canadian dilemma. Our skin tone rarely stays put, swinging from pale winter days to those few glorious sun-kissed summer months. The secret isn't to buy a new foundation every season.
Instead, invest in two "bookend" shades of your favorite formula. Get a perfect match for your lightest winter self and another for your deepest summer tan.
This simple trick saves you a ton of guesswork and cash. For those in-between months in spring and fall, just play makeup artist. Put a pump of your lighter shade on the back of your hand and mix in a tiny drop of the darker one. You can create a custom blend that’s perfect for that very day. It’s the most reliable way to get a flawless color match year-round.
My personal cue? When I start thinking about swapping my winter parka for a lighter jacket, I know it's time to start mixing my foundations. It’s a sign that my skin is changing right along with the seasons.
Should My Foundation Match My Face or My Neck?
This is the big one. The goal is always a seamless, unified look from your face down to your neck and chest. The problem is, for most of us, our neck is naturally lighter than our face, which gets more sun exposure.
Here’s what the pros do: always swatch along your jawline, feathering the color down slightly onto your neck. When a shade is right, it should practically vanish, blending into both areas without a visible line.
- If a foundation looks perfect on your cheek but creates a harsh line against your neck, it’s the wrong one.
- The best move is to choose the shade that melts into your neck. This might make your face look a little pale at first, but it's an easy fix. A light dusting of bronzer across the high points of your face will bring back that warmth and dimension beautifully.
Can I Really Trust Those Online Shade Finders?
Online shade-matching tools have come a long way and are honestly a great place to start your search. They can be incredibly helpful, but they're not infallible. The biggest issue is that the lighting in the photo you upload can dramatically skew the results.
Think of an AI shade finder as a helpful consultant, not the final word. Use its recommendation to narrow a brand’s massive lineup down to just two or three strong contenders.
From there, you absolutely have to test them in the real world. Head to a retailer like Sephora and ask for samples—they're usually happy to provide them. If you’re buying online from a Canadian brand or one that ships here, look for companies that sell sample kits or have a generous return policy. Combining that initial digital guidance with a real-life swatch test is your best bet for finding the one without any regrets.
Ready to discover a foundation that feels like skincare and provides a radiant, natural finish? Explore the collection from PriPedi and find the perfect match for your mature skin. Shop now at PriPedi.